In the domain of data transference, cURL manifests as an influential instrument that has cemented its position within the repertoire of every software engineer. It facilitates a plethora of protocols encompassing HTTP, HTTPS, FTP, and beyond. However, there exist circumstances where unmediated access to pertinent data is precluded due to network constraints or the exigency for maintaining digital obscurity. It is in these precise scenarios where the integration of cURL proxy becomes an indispensable stratagem.
This step-by-step guide will explain how to use cURL, or simply curl, with proxy servers. It covers all the cURL proxy aspects, starting with the basics of what is cURL, installation of Linux cURL proxy and other operating systems, explaining how to set proxy for cURL, how to cURL with proxy, and how to set proxy in curl command.
What Is cURL?
cURL, an acronym for “Client URL”, is an open-source command-line utility designed for transmitting and retrieving data via URL syntax. It stands as a formidable tool for automation and is arguably the premier command-line interface boasting robust proxy support. The software project encompasses a library (libcurl) and a command-line utility (curl), with our focus being on the latter, a tool crafted for data transfer through URL syntax.
cURL supports an extensive array of protocols, including but not limited to HTTP, HTTPS, FTP, FTPS, SFTP, POP3, IMAP, IMAPS, LDAP, LDAPS, and SCP, rendering it the most widely adopted and favored command-line HTTP client.
The versatility of cURL makes it a go-to solution for a myriad of tasks such as executing HTTP requests, uploading data, downloading files, and interfacing with APIs. It provides an array of features, ranging from request customization to proxy support.
To understand it better, let’s take a look at the simplest example of using cURL.
Open your terminal or command prompt, type curl https://www.google.com in this command and press Enter. This will get the HTML of the page and print it on the console.
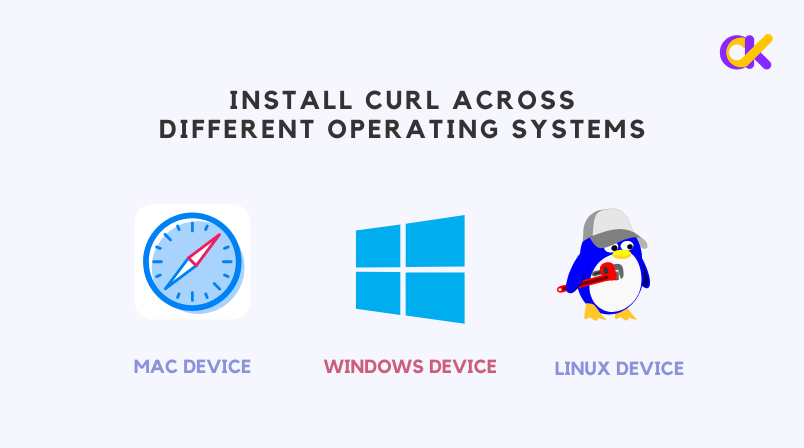
Install cURL Across Different Operating Systems
Now, let’s take a look at how to install curl on your device.
Mac device: Luckily, you don’t need to install Curl on MacOS. The tool is already included in the operating system as it usually comes pre-installed, and you can use it natively in the Terminal application. If not, you can use a package manager like Homebrew and run brew install cURL.
Windows device: You can download the executable file from the official website and follow the instructions. Some systems may already include cURL. For instance, Windows 10 has a curl copy. Meanwhile, the curl command is an alias for the PowerShell Invoke-Webrequest command. This means that the curl command in Windows Terminal will invoke summon behind the scenes. To avoid this and actually use the curl in your cURL, replace “curls” with “curl.exe”. This way, Powershell will run cURL instead of Invoke-Request.
Linux device: Depending on your Linux distribution, you can install curl using commands like sudo apt-get install curl or sudo yum install curl. It is usually preinstalled in many distributions. If a Linux distribution is not available, you can install it by running the install command. For example, on Ubuntu or Debian-based OS, you can install curl using the command: sudo apt install curl.
Basic cURL Commands
Once cURL is installed, you can start using it:
Get the web page: Just use “curl https://www.example.com” to get the HTML content of the web page.
Download File: Need to get a file? Use “curl -o https://www.example.com/file.zip” to download it to your computer.
Send data: You can even use Curl to send data with a POST request. For example, ‘curl -d “username=User&password=Pass” https://www.example.com/login‘ will send the login information.
Using headers: If you need to add headers to your request, just include them with the -H option: ‘curl -h’ authorization: holder of your “https://www.example.com/api”.
Save output: Do you want to save the results of the curl command to a file? Use “curl https://www.example.com -o output.html“.
Why Use cURL Proxies?
Leveraging a proxy in conjunction with cURL presents a proficient method to circumvent network limitations and preserve anonymity during data transmission. With its capacity to accommodate diverse proxy forms and its adaptability in managing proxy authentication and exceptions, cURL furnishes a thorough toolkit for proxy administration.
Whether you’re a software engineer grappling with network constraints or a user mindful of digital privacy, acquiring the proficiency to employ a cURL proxy can be an invaluable asset. Armed with this knowledge, you can traverse the digital landscape with enhanced security, gain access to restricted resources, and uphold your cyberspace anonymity.
Setting Up a cURL Proxy
Starting combining cURL with proxy services, you need to access the proxy first. Specifically, the syntax of the cURL proxy URL is as follows:
[<PROTOCOL>://][<USERNAME>:<PASSWORD>]@[:<PORT>]Including:
<Protocol>: A protocol for connecting to the proxy server. If the protocol is not specified, the cURL defaults to http://.
<Host>: IP address or URL required for the proxy server hostname.
<Port>: The port number of the proxy server is listening. If the port is not specified, cURL will use 1080 by default.
<Username>: The optional user name is specified when you need to verify.
<Password>: The optional password is specified when authentication is required.
As for the cURL proxy protocols, the most popular are HTTP and HTTPS, followed by SOCKS.
For example, if your proxy server’s IP address is 192.168.1.1 and it operates on port 8080, you would use the following command:
curl -x http://192.168.1.1:8080 http://example.com
This command tells cURL to route the request for http://example.com through the proxy server 192.168.1.1 on port 8080.
Managing Proxy Authentication
Some proxy servers require a username and password for authentication to access the proxies. cURL supports proxy authentication, and allows web scraper to access these proxy servers while respecting its security measures. For instance, this is a method that uses cURL to connect to the URL with an authenticated proxy.
First, you need to use the –proxy-user option. to provide user names and passwords for proxy servers.
Assuming you want to connect to the proxy server through http://proxy- url.com:8080, the server needs to verify the identity passed by user name users and passwords. The CLI command of the operation is as follows:
curl-proxy http://proxy- url.com:8080-proxy- user user: via http://target- url.com/apiThis command will verify the username and password provided by the provider to send the HTTP request to the target URL through the specified proxy.In addition, you need to include a proxy-authorized title in the request title. The –proxy-header option in curling allows you to perform this operation, as below:
curl --proxy http://proxy-url.com:8080 --proxy-user user:pass --proxy-header "Proxy-Authorization: Basic dXNlcjEyMzpwYXNzMTIz" http://target-url.com/apiThis command instructs cURL to use the specified username and password when authenticating with the proxy server
Using Environment Variables for Proxies
If you’re regularly using a cURL proxy, it might be more convenient to set it as an environment variable. cURL allows the use of an environment variable for each protocol it supports. We take an example of using HTTP or HTTPS, if http_proxy and https_proxy are set, then cURL will by default use them when the appropriate protocol is used. cURL proxy will automatically use these when making requests. For example:
export http_proxy=http://192.168.1.1:8080
export https_proxy=http://192.168.1.1:8080
In these statements, we can also include authentication if necessary:
export http_proxy=http://username:[email protected]:8080
export https_proxy=http:///username:[email protected]:8080
Summing Up
In conclusion, mastering the use of cURL proxy is an invaluable competency in today’s digital world. Whether you’re navigating network restrictions or prioritizing online privacy, this guide equips you with the essential knowledge to effectively use cURL across various operating systems. From basic commands to the complexities of cURL proxy authentication, you now possess a robust understanding of how to harness the power of cURL. As you continue to explore and apply these principles, you’ll find that cURL and proxies together form a potent tool in your digital toolkit.