How to Set Up A Proxy in Your Browser | OkeyProxy Guide
First of all, OkeyProxy supports all commonly-used browsers in the market. If you have any problems during the configuration process, please feel free to contact us at any time. We will assist you to complete the configuration work.
Now I'm using Google Chrome as an example to show you how to set up OkeyProxy on your browser. The same steps apply to other browsers as well.
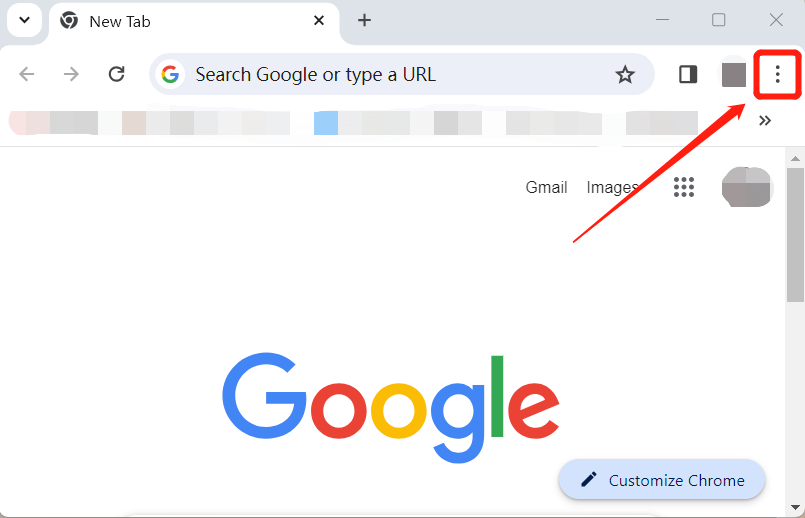
Step 1: Choose the three-dot icon in Chrome, as shown in the picture below.
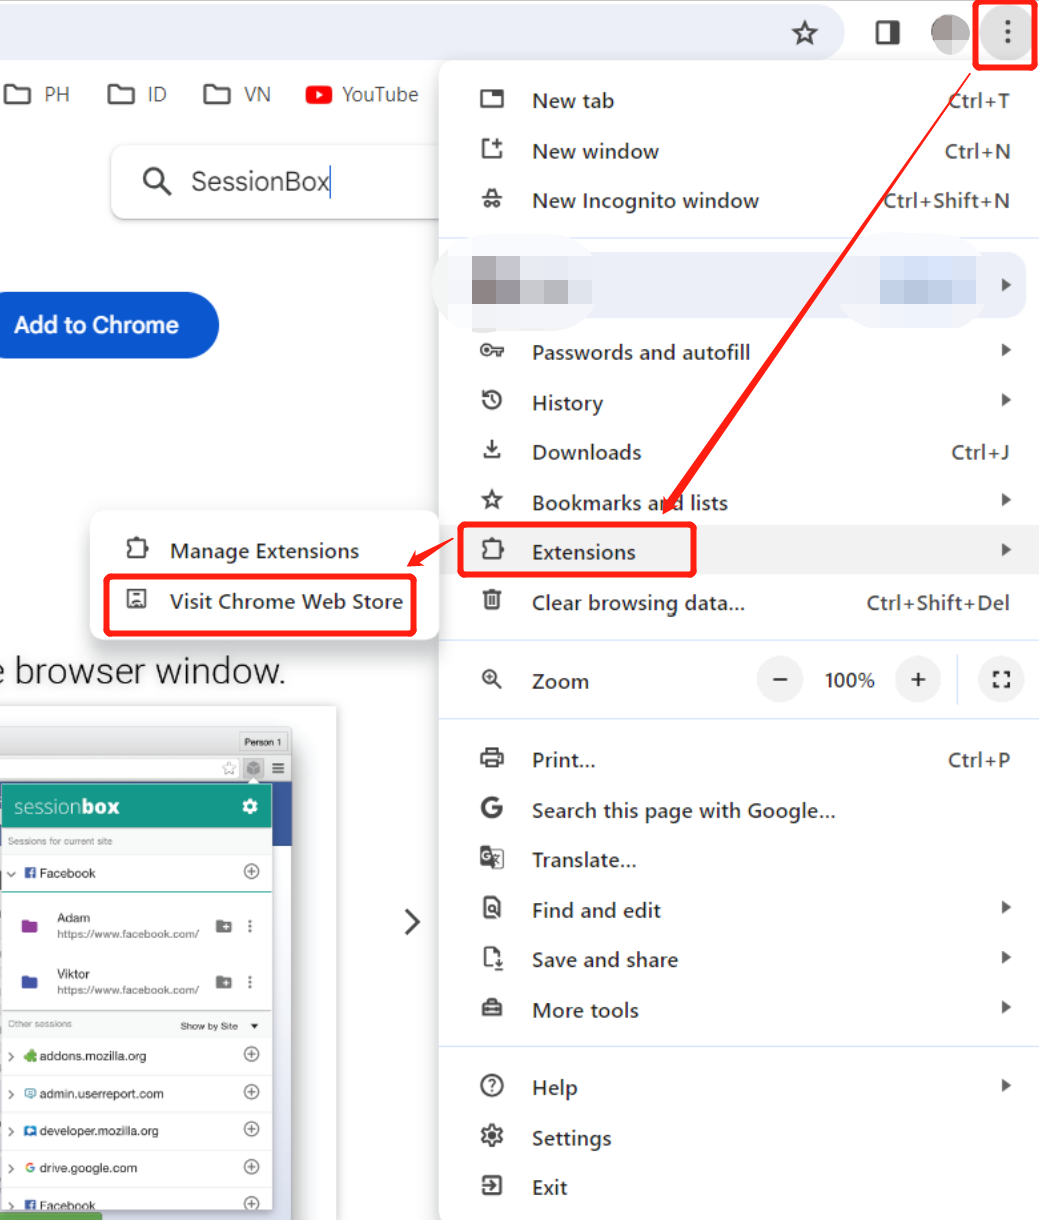
Step 2: Click on the "Visit Chrome Web Store" button under the "Extensions" tag.
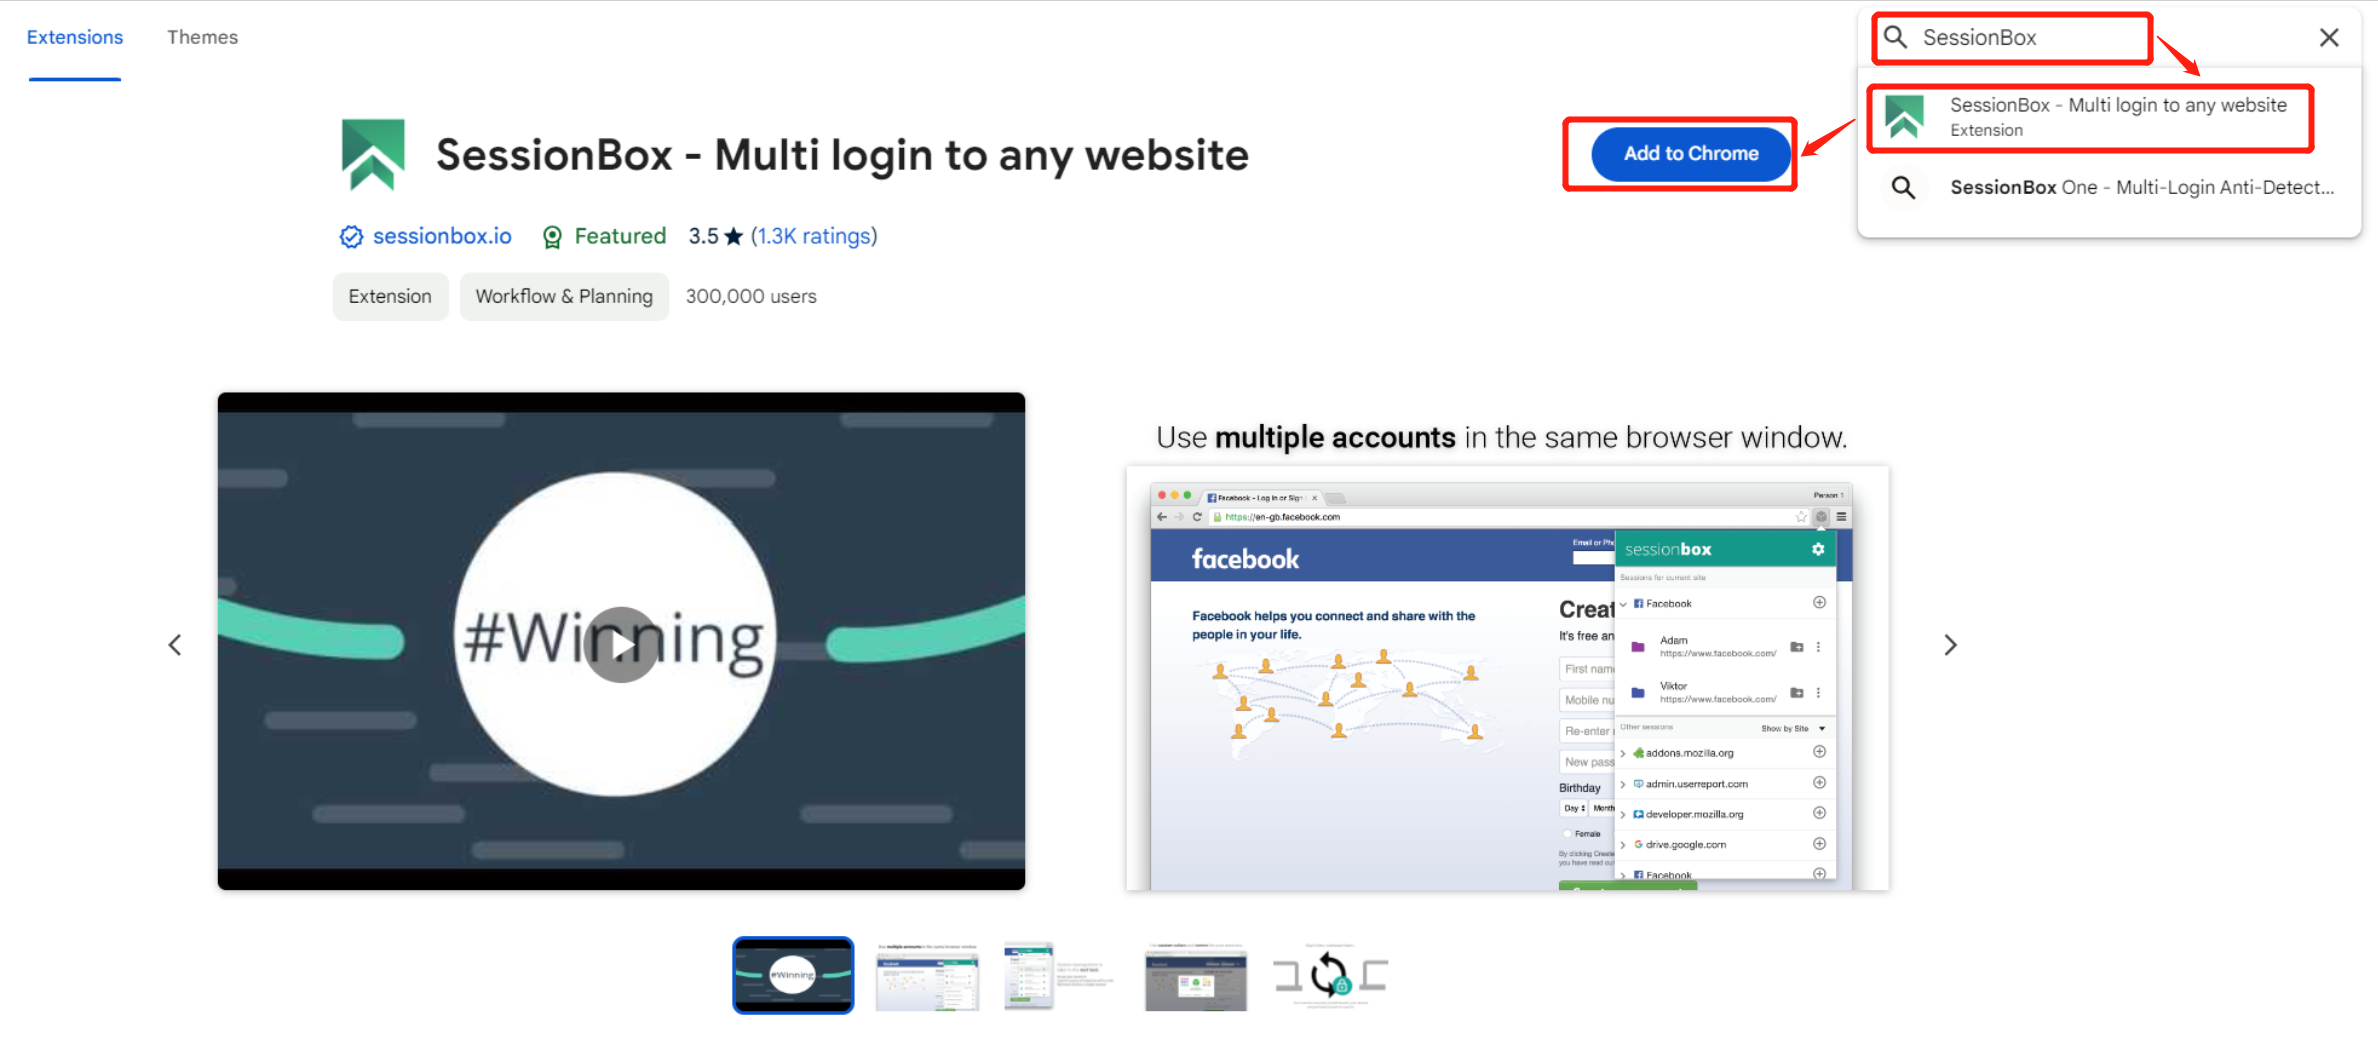
Step 3: Search a reliable proxy manager to configure your proxy. We use SessionBox as an example. Search for "SessionBox" and Click on the "Add to Chrome" button.
Step 4: Then you will receive a folder icon to manage your extensions. Now click on it.

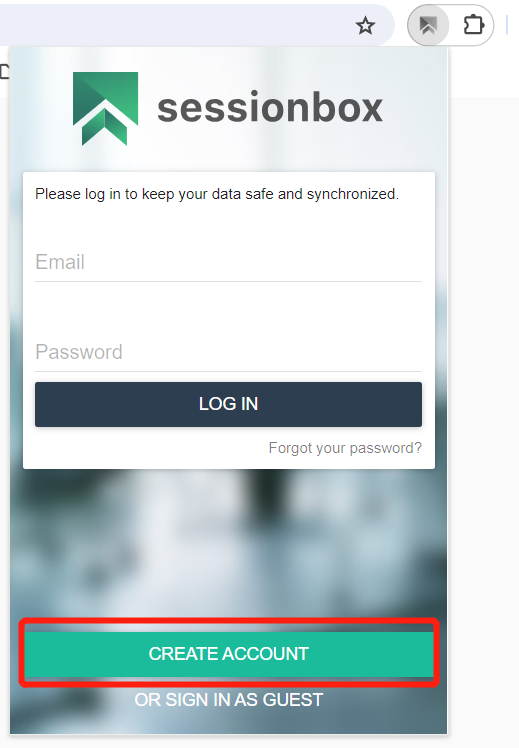
Step 5: SessionBox will ask you to log in to keep your data safe and synchronized. Therefore, you need to choose "Create Account" first.
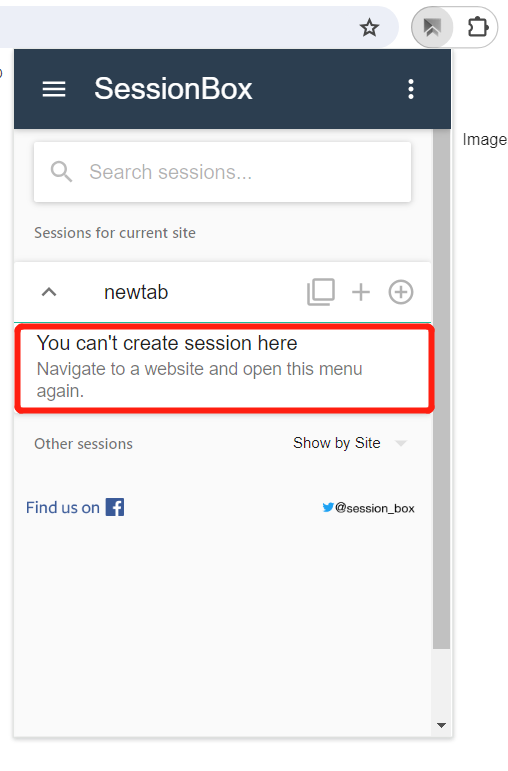
Step 6: After registering your account, you will reach the following step as shown in the picture below. Pay attention that you need to navigate to a website and open the SessionBox menu again so that you can create your first session.
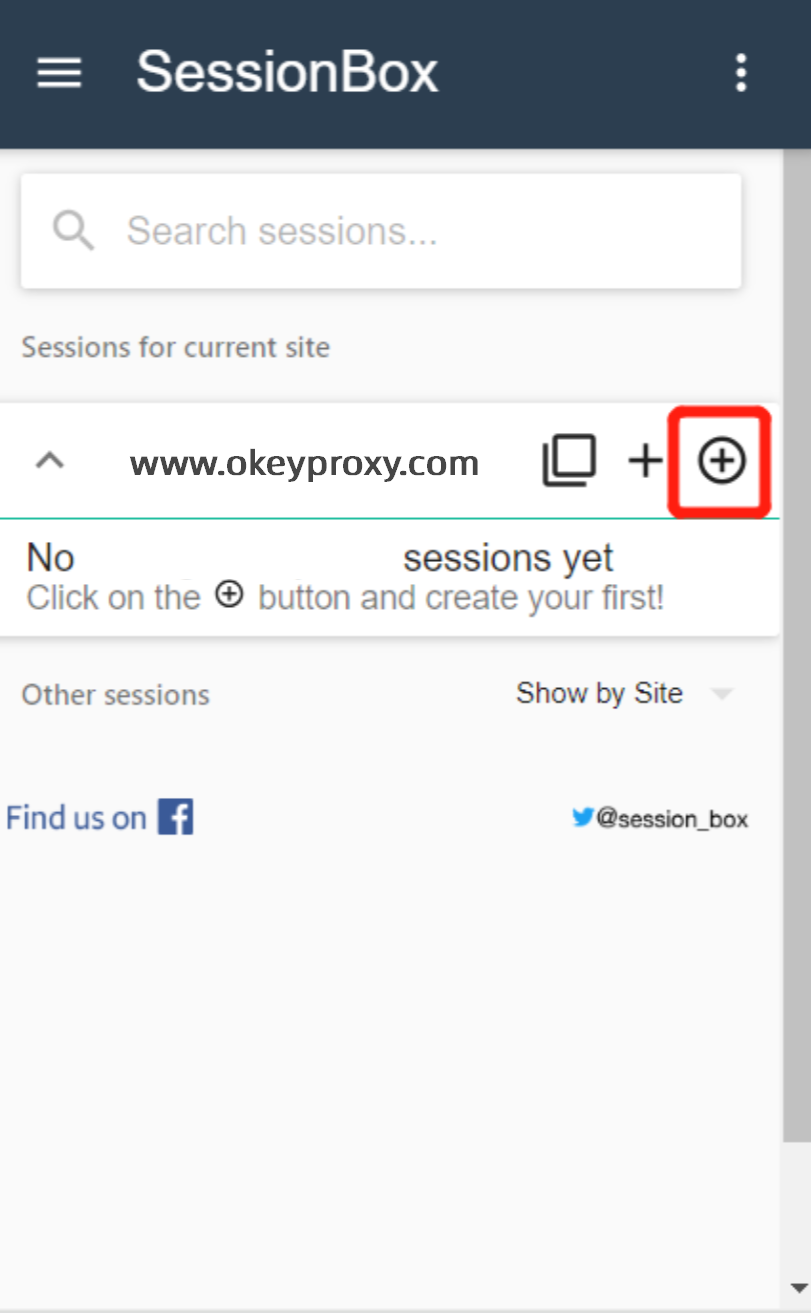
Step 7: Create your first session.
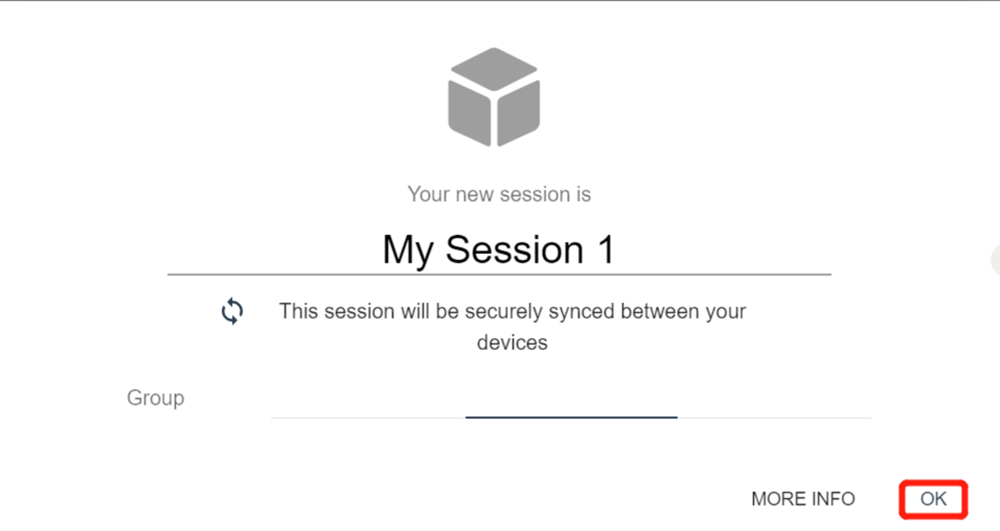
Step 8: Configure your session.
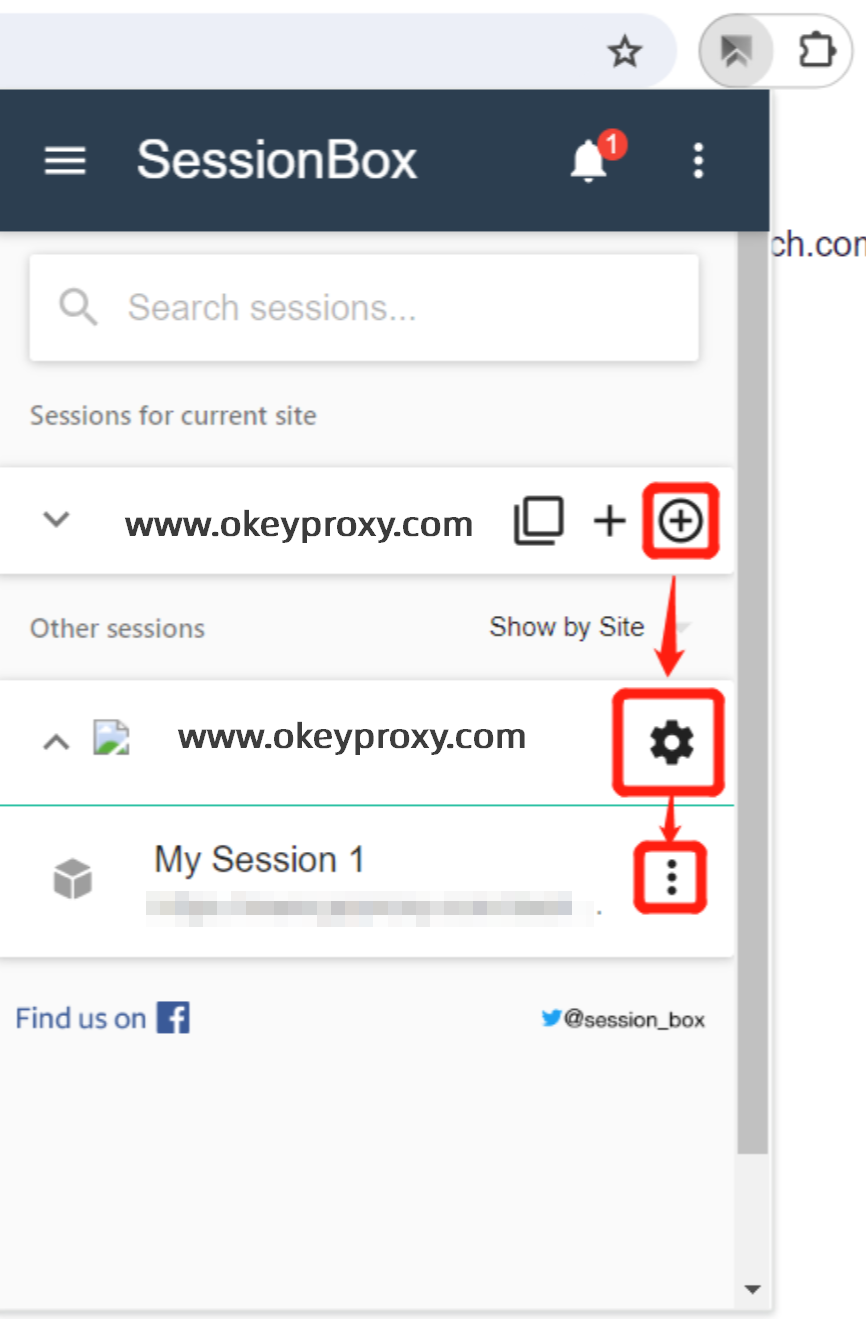
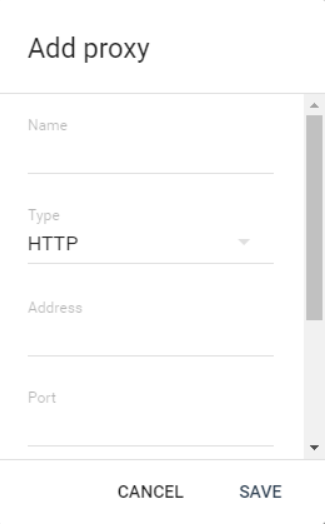
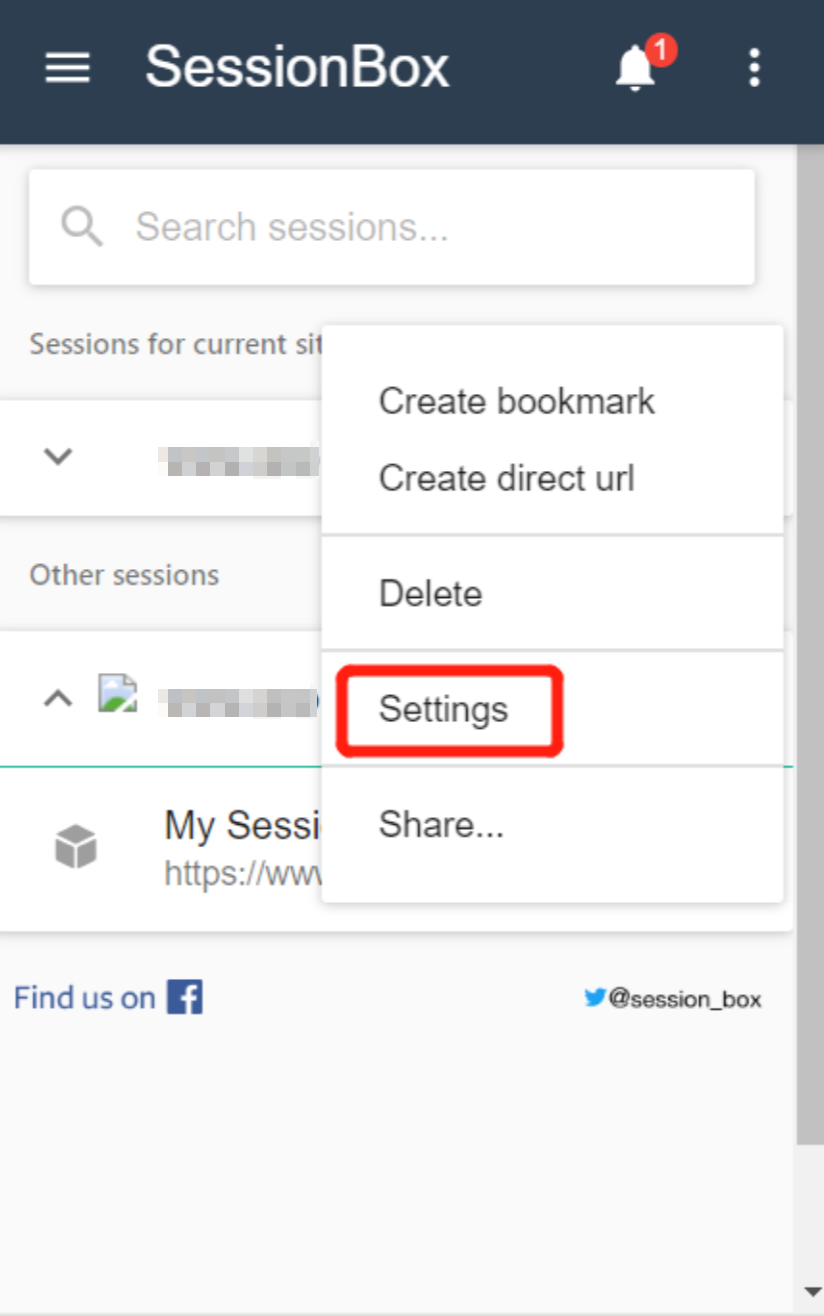
Step 9: Click on the "Settings" button to configure your proxy.
Step 10: Fill in the blanks for "Name", choose your proxy "Type", and enter "Address" and "Port". Then click on the "Save" button. Now, all the configurations have been completed, and you can use IP detection tools to check whether your IP has switched to the proxy IP.