


How to Set Up A Proxy in Google Chrome | OkeyProxy Guide
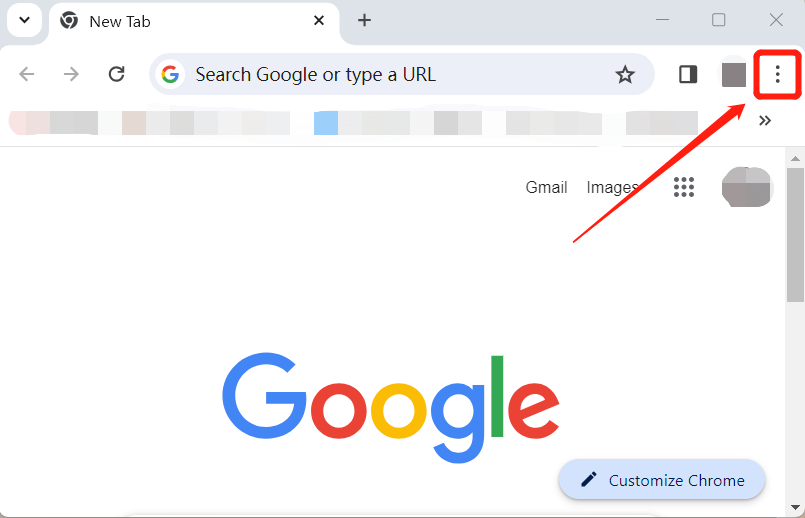
Step 1: Choose the three-dot icon in Chrome, as shown in the picture below.
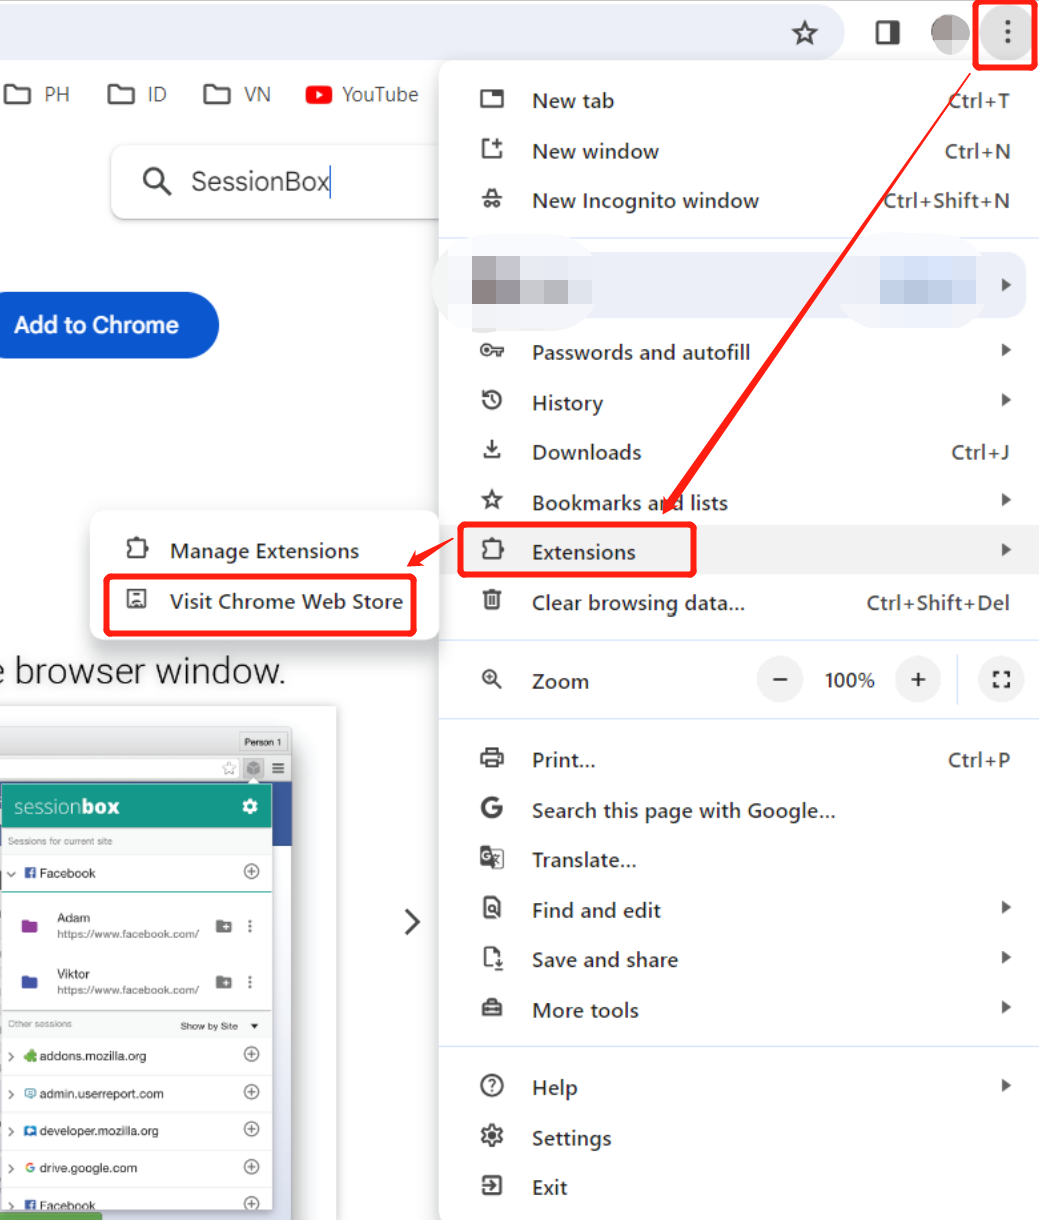
Step 2: Click on the "Visit Chrome Web Store" button under the "Extensions" tag.
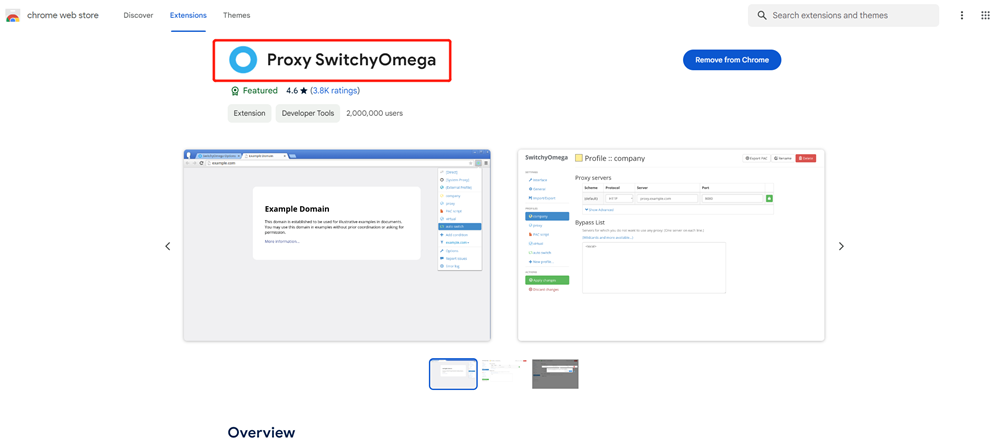
Step 3: Search for a reliable proxy manager to configure your proxy. We use SwitchyOmega as an example. Search for "SwitchyOmega" and Click on the "Add to Chrome" button.
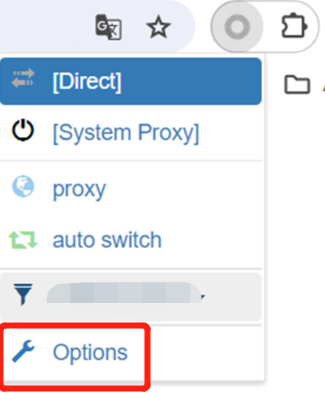
Step 4: Choose "Options" in the dropdown list of Proxy SwitchyOmega.
Step 5: Select "Proxy" in the left list, choose Protocol you need (HTTP/SOCKS5), setting the Server, Port, and click the lock to enter your Proxy Username and Proxy Password. Next, click the "Apply changes" button.
- Residential Proxy:
- Host: proxy.okeyproxy.com
- Port: 31212
- Proxy Username: customer-xxxxxxxx
- Proxy Password: yyyyyyyy
- Static Residential Proxy / Datacenter Proxy:
- Host (your assigned IP): xxx.xxx.xxx.xxx
- Port: 52000
- Proxy Username: xxxxxxxx
- Proxy Password: yyyyyyyy
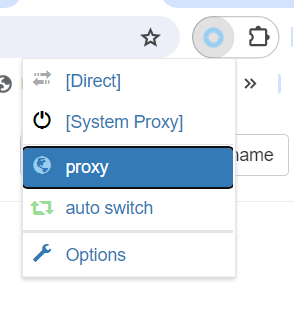
Step 6: Choose "proxy" in the dropdown list of Proxy SwitchyOmega to turn it on.
Step 7: Now all the configurations are finished. You can go to ipinfo.io to check whether your IP has been changed successfully or not.

